


AEWisJericho
-
Posts
33 -
Joined
-
Last visited
-
Days Won
1
Content Type
Forums
Downloads
Profiles
Sim-Monsters News
Media Demo
Events
Gallery
Posts posted by AEWisJericho
-
-
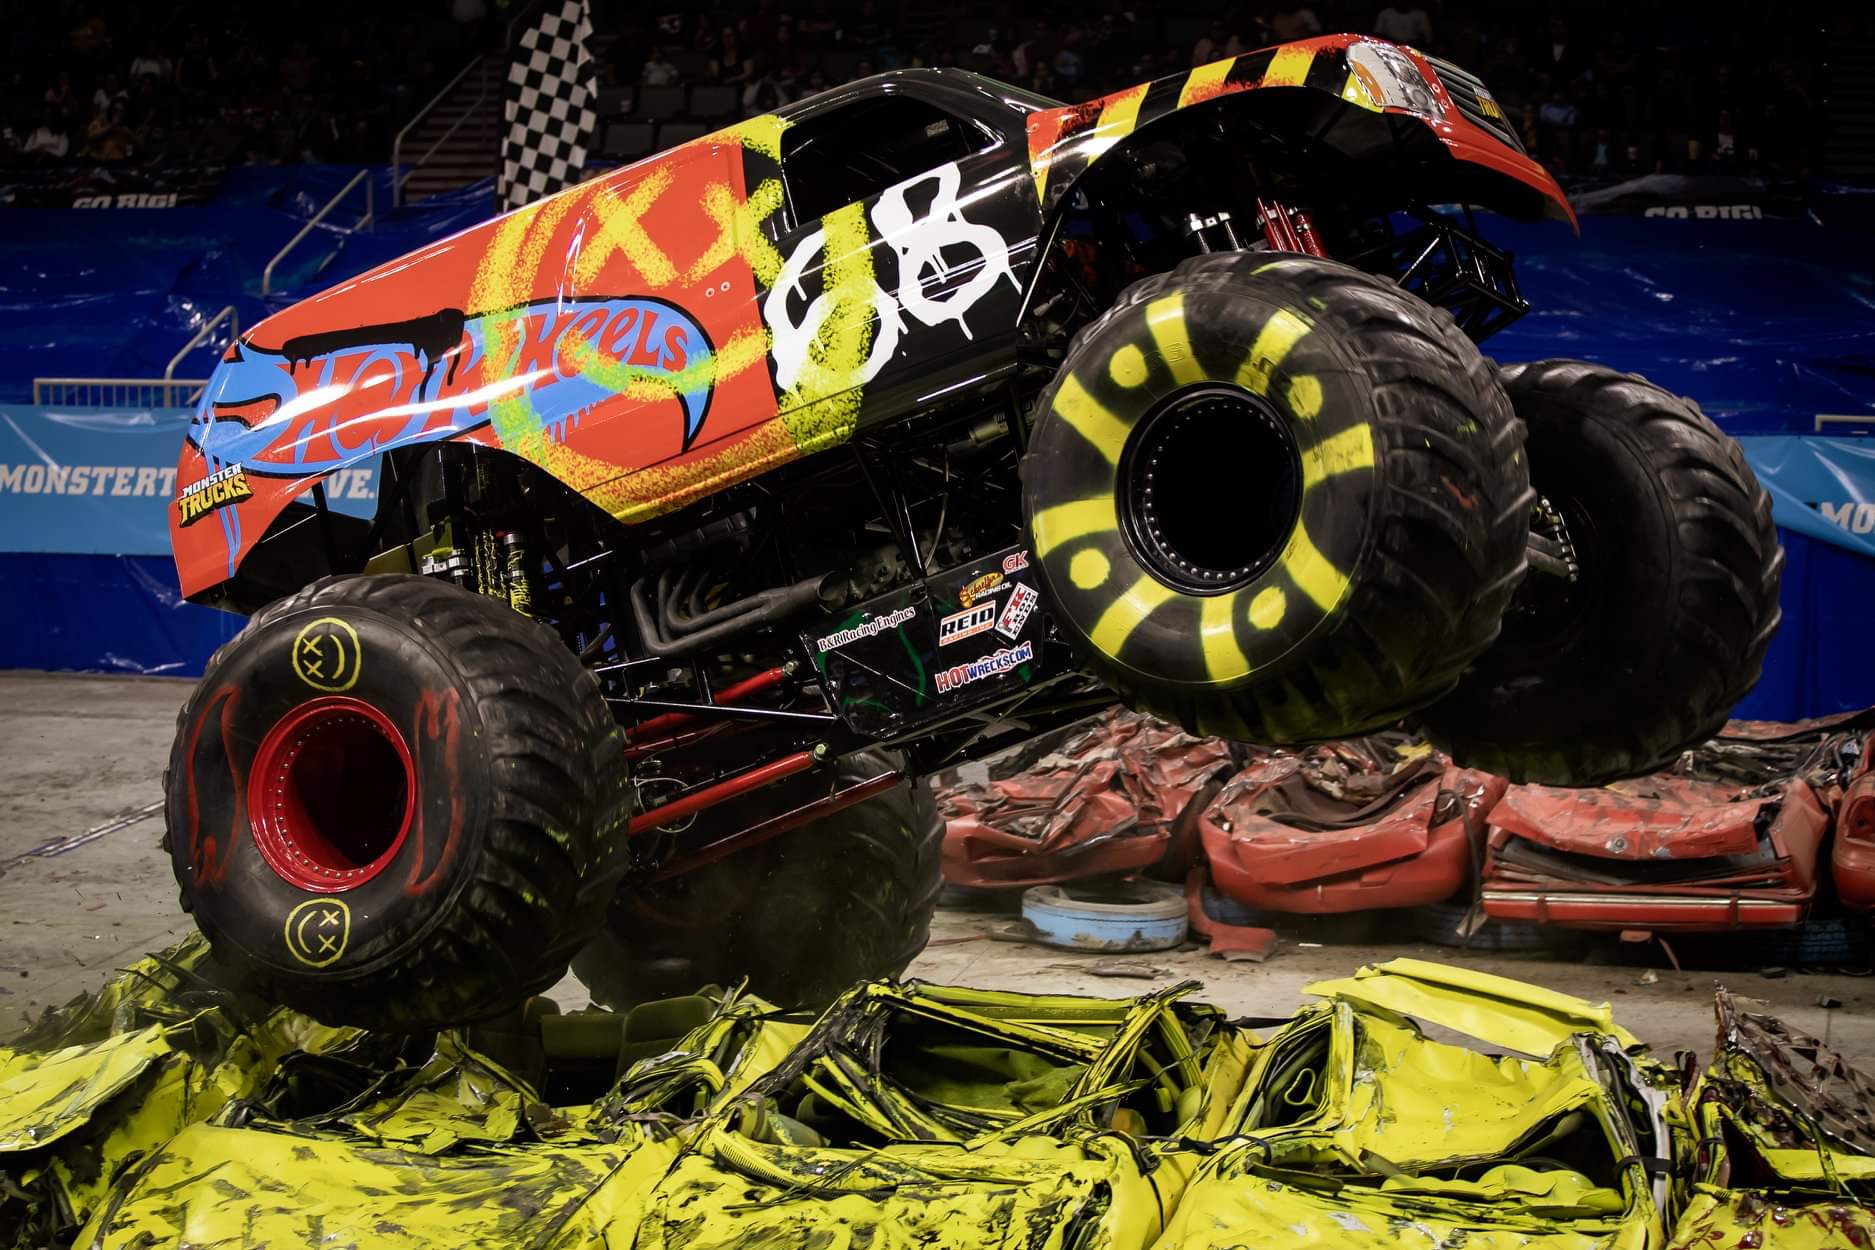
I've started a Google Drive folder for HQ upscales of monster truck photos, which makes it easier for people to find good reference picks, and it makes it a lot easier to get good logos off the trucks.
Link: https://drive.google.com/drive/folders/1EoAV7Q29Ei0lM-oljpQE73YfbUh5B_Qs?usp=sharing
-
Seriously, can someone please make this? I would, but I'm don't know how to make trucks.
-
I'm working on creating Ghost, but I could use a little help.

-
On 8/6/2021 at 5:38 PM, WorpeX said:
I've wanted to make a tutorial video for awhile, but I struggle to find the time nowadays. There are a ton of different skills involved with creating a custom truck (one of the reasons why I enjoy it so much actually). My biggest suggestion would be to take things piece-by-piece and don't try to make an outlandish truck all at once. This isn't something that is going to happen in one day or your first truck. Take it slow, learn from what others have done and just have fun! For your first truck, here is my recommendation -
-
Repaint a pre-built truck. For me, this was my (awful) Bounty Hunter Release.
- Start by simply exploring how RoR handles truck files and doing a simple repaint of someone elses truck.
- RoR can read folders as well as .zip files, so extract the .zip of the pre-made truck into a folder and put that folder into the folder you place your RoR mods.
- Find a paint program which works best for you (paint.net, photoshop, etc). Inside the pre-made trucks folder you'll see the a .png picture of its paint.
- Paint your custom skin! Just paint right over that sucker. Save when done with a different name.
- Find the .truck file in this folder. This is the file that tells RoR how to put every single file in this folder together. For now, just change the name at the top to the name of your re-painted truck.
-
Apply your custom paint. This part might get confusing depending on the truck you've selected to repaint.
- Some authors use the "managedmaterials" line in the .truck file to direct RoR to the paint. If you see a ton of image files listed under managedmaterials, then find the name of the original trucks paint in the list and change it to the name of your new paint.
-
Other authors use .material files. You'll have to figure out which .material file is for the truck body and open it up with notepad. Dig though it and find the image name and replace it with your new image file.
- Whats the difference?? Both have advantages and disadvantages. Material files apply different effects directly to an object and it has less bugs. However, using the managedmaterials section is much easier and cleaner. Furthermore, it lets the author change an objects paint from the truck file, which means less objects.
- Test it in RoR! Keep playing around with it until you like it. You can keep RoR open and just hit reload truck if you make changes.
-
From here, you can start exploring the .truck file further. Lets just say you don't like the tires. Lets replace them with the BKT's off of another truck.
- For this example, lets take the tires off of Bearly Tame 2020 and put them onto your repainted truck.
- Lets open up the Bearly Tame 2020 zip file and find the files for "3rdGenBKT.mesh" you'll also need the paint for these so don't forget that!
- Copy the .mesh and .png into the folder for your new repaint truck and then open up the truck file.
- The tires are usually towards the bottom of the truck file. Replace the mesh name of the tire with the mesh name of the BKTs we just grabbed.
- Save and reload in RoR....
- Ah! They're white! Right, Lets tell RoR how to paint them. Near the top of the BearlyTame truck file, you'll see the managedmaerials section. Copy the 3rdGenBKT line from this truck file and put it into your repaint trucks file under the managedmaterials section. That should fix the problem. Save and reload the truck.
- Now you should have a simple repaint with new BKT tires on it.
Ok this is a pretty simple tutorial and nothing here is overly complicated. The goal of doing this is to learn the basics of the most important steps in building a truck: the .truck file and your paint editor. I wouldn't even start touching Blender until you have made a simple repaint truck and learned how to adjust different truck components. I can't really do step-by-step with blender, so i'll stop here. Message me on Discord if you have any questions!
I would still recommend using the older version of blender (2.79 specifically). As far as I know the OGRE exporter still doesn't work with the newest versions of Blender (I could be wrong, I haven't looked recently).
I edited the texture and followed the steps, but the texture won't show. Can you please help me?
-
Repaint a pre-built truck. For me, this was my (awful) Bounty Hunter Release.
-
Awesome!
-
XMT Sign Ups
in XMT
Sorry, I think I did this wrong. I'm gonna redo my sign-up.
Name - The Fiend
Truck - Nitemare
Link -
Backup Truck - Shocker
Discord - Waluigi#5421
-
On 8/3/2021 at 12:18 AM, Chazzymp said:
If enough people ask or want it, I might attempt soon
I want it.
-
On 9/15/2021 at 1:17 PM, Swegliner849 said:
I'm planning every version ran on each truck (that version of 8 too), i was just showing what i had so far in the pictures
Does that include Bad Boy Bigfoot?
I have the body for Zane Rettew's version of Boogey Van (I edited a free model from Roblox).
-
 1
1
-
 5
5
-
-
XMT Sign Ups
in XMT
Name: The Fiend
Truck: Time Flys
Truck Link:
Backup Truck: Vendetta
Discord: Waluigi#5421
-
On 9/12/2021 at 8:00 PM, RORmadness said:
It looks even better than before! You hit another home run with this one!
-
I'd like to do a tour!
-
Could someone please make the logos for Sniper?
-
Would anyone like to work on making a truck with me? I'm not able to model because Blender doesn't want to work right, but I can try to do some textures.
-
Name: Toxic (Gold)
Body: 2014 (Original Toxic) or 2020 Ford-F-250 (Toxic 2.0) (either is fine)
Chassis: Patrick Enterprises (Original Toxic) or The Metal Shop (Toxic 2.0) (either is fine)
Paint:
Tires: Gold BKTs
-
Nevermind, I found out how to fix it. I had to put the files in the V4 pack.
-
I hope someone makes these.
-
Name: Black Knight
Body: 2009 Ford Super Duty
Paint:
Other Details: A version with BKT tires would be cool.
-
Name: Demo Derby
Body: Cadillac Escalade
Chassis: Heavy Hitter
Tires: Painted Tredwear Tires
Paint:
Logo: https://static.wikia.nocookie.net/monstertruck/images/5/50/Demo-derby-word-art-300x161_(1).png/revision/latest/scale-to-width-down/300?cb=20190630051337 (The image wouldn't load).
-
-
The pictures won't show up.
-
I really hope someone makes this!
-
3 hours ago, krazyd24 said:
Repost the pics nothing is showing up
Sorry, it showed up on when I posted it, but’s not showing up now. Here’s some pics: http://monsterphoto.iwarp.com/doom.htm
-
Name: Dungeon of Doom
Body: Custom
Chassis: Bigfoot 8


Converting BeamNG Trucks to Rigs of Rods Trucks
in Monster Trucks
Posted
Is there a way to put the bodies of BeamNG trucks on Rigs of Rods trucks? I wanted to add some trucks that aren't in Rigs of Rods yet.